Roof Vent Installation Services Overview
This page helps property owners learn about roof vent installation services and compare local contractors who handle the work.
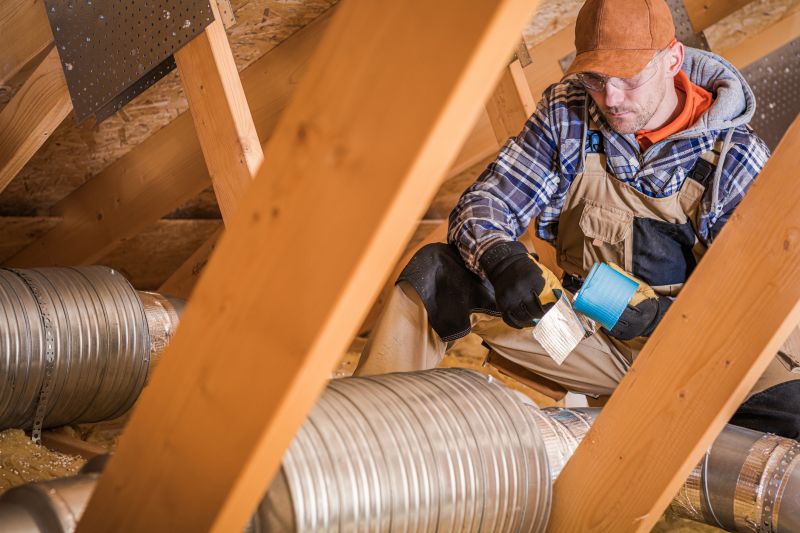
- - Residential homeowners seeking to improve attic ventilation and energy efficiency.
- - Commercial property managers needing reliable roof vent installation for building airflow.
- - Contractors or property owners looking to compare local service providers for professional roof vent setup.

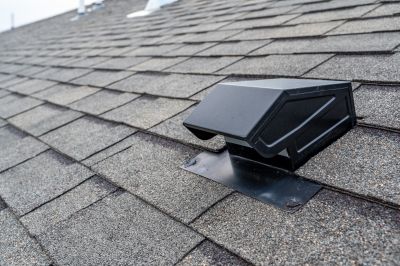
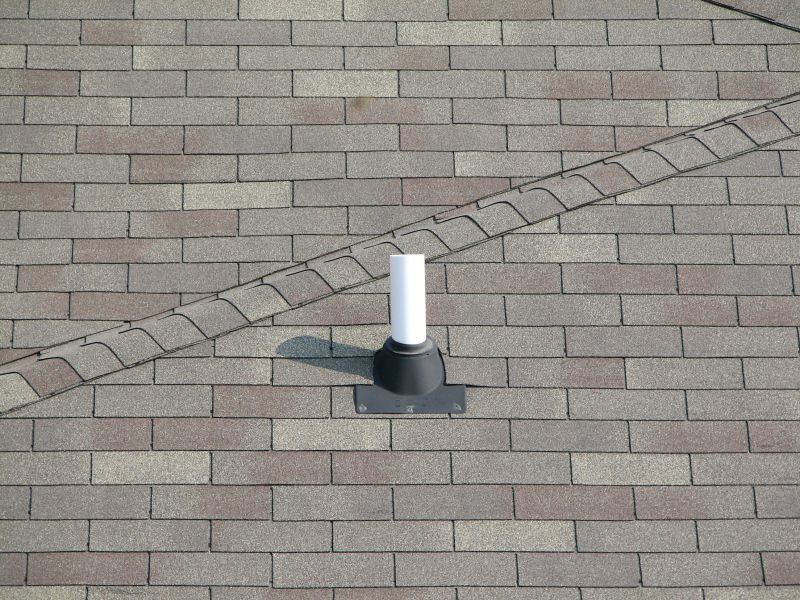
Roof vent installation is an essential component of maintaining proper attic ventilation and ensuring the overall health of a roofing system. When property owners seek assistance with this work, they often look for experienced local contractors who can assess their specific needs, recommend suitable venting options, and perform the installation efficiently. These professionals are familiar with a variety of vent types and can handle installations on different roof styles, helping to improve airflow and prevent issues like moisture buildup or heat accumulation.
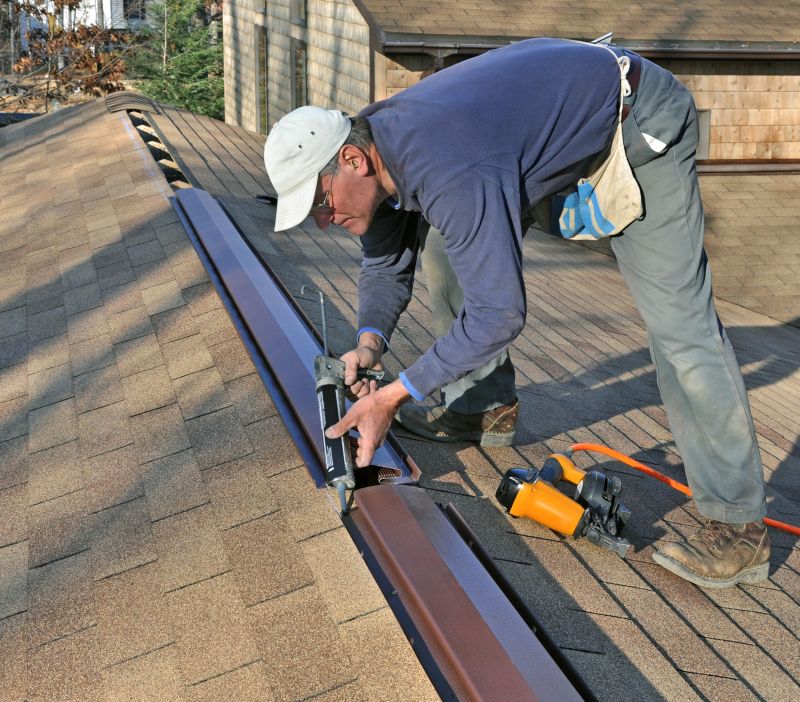
Connecting with local service providers for roof vent installation offers a practical way to find qualified help tailored to individual property requirements. Whether upgrading existing vents or installing new ones, property owners can expect the work to involve careful planning, proper measurement, and precise installation techniques. Local contractors typically handle the project from start to finish, ensuring the vents are securely installed and function as intended to support a well-ventilated roof space.
This guide provides helpful information to understand the key aspects of roof vent installation and what to consider when planning a project. It assists in comparing local contractors and understanding the basics of the work involved. Use this information to better evaluate options and prepare to discuss your needs with service providers.